I’d like to share with you the process of building a casting rod. Please follow the links for more information on a particular image or step. You may still find some details missing but we would be happy to answer any questions you have.
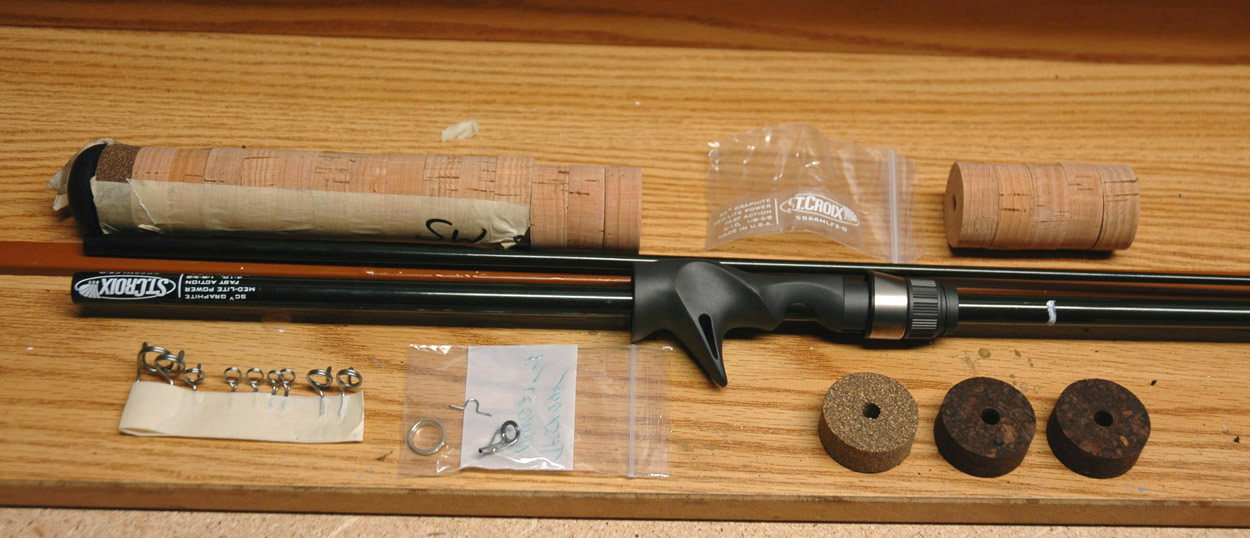
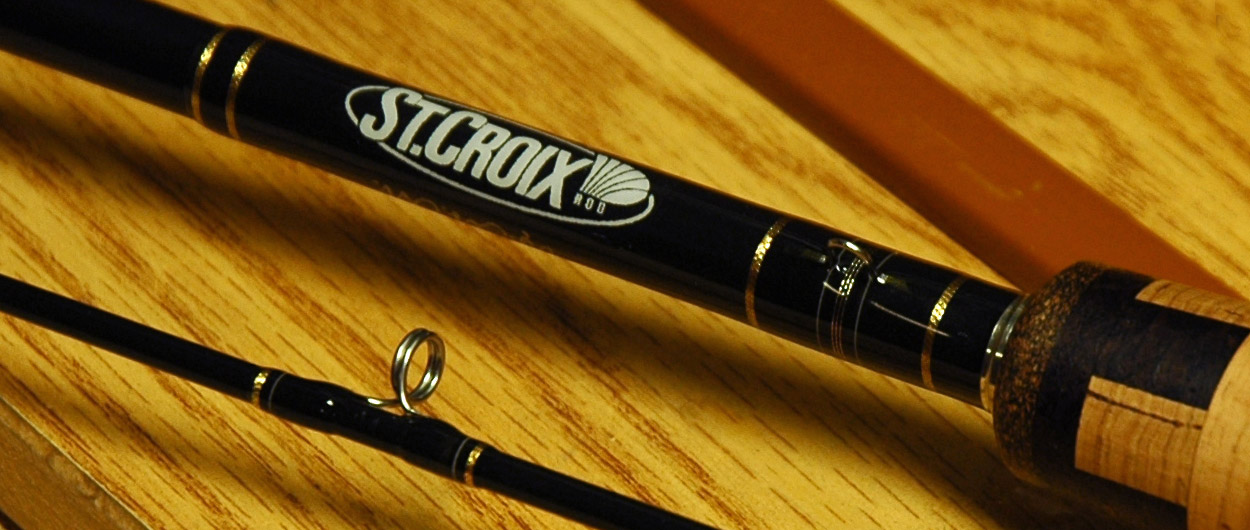
![]() Selecting and matching the components to the rod you are building for its desired purpose- This includes visualizing the finished product from tip to butt.
Selecting and matching the components to the rod you are building for its desired purpose- This includes visualizing the finished product from tip to butt.
![]() This handle will be slightly more complicated that most. We will have to construct the inlay cork cookie first, and we don’t use a jig cutting or setting tool.
This handle will be slightly more complicated that most. We will have to construct the inlay cork cookie first, and we don’t use a jig cutting or setting tool.

![]() Once the cork cookie is completed we treat it as a single cork piece and fix it to the rod butt. This cookie has ten pieces total, eleven if you count the end plug.
Once the cork cookie is completed we treat it as a single cork piece and fix it to the rod butt. This cookie has ten pieces total, eleven if you count the end plug.

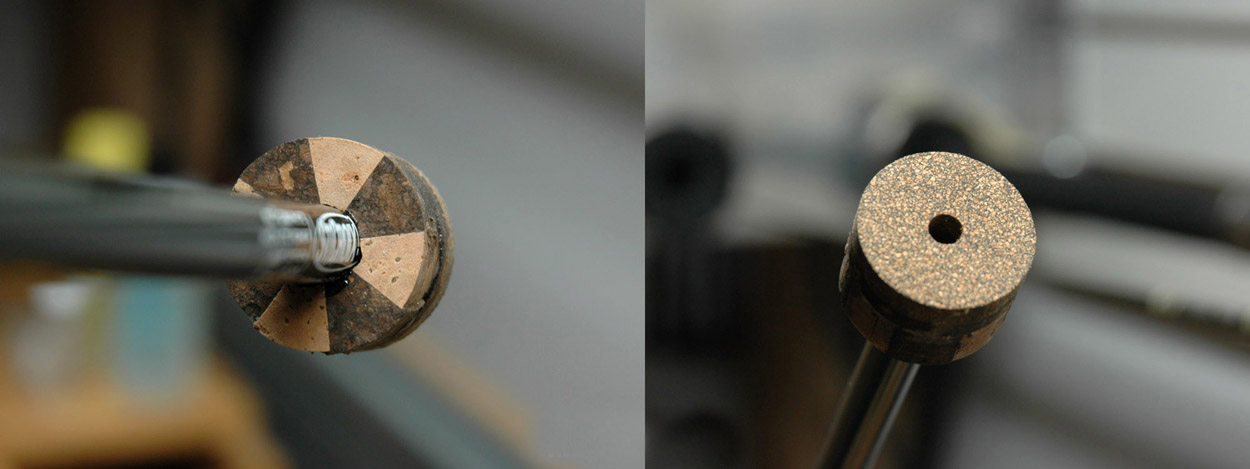
![]() On one side of the cork cookie we have to bore a hole big enough for the rod butt to fit, but not all the way through. the back shows the original 1/4″ bore.
On one side of the cork cookie we have to bore a hole big enough for the rod butt to fit, but not all the way through. the back shows the original 1/4″ bore.
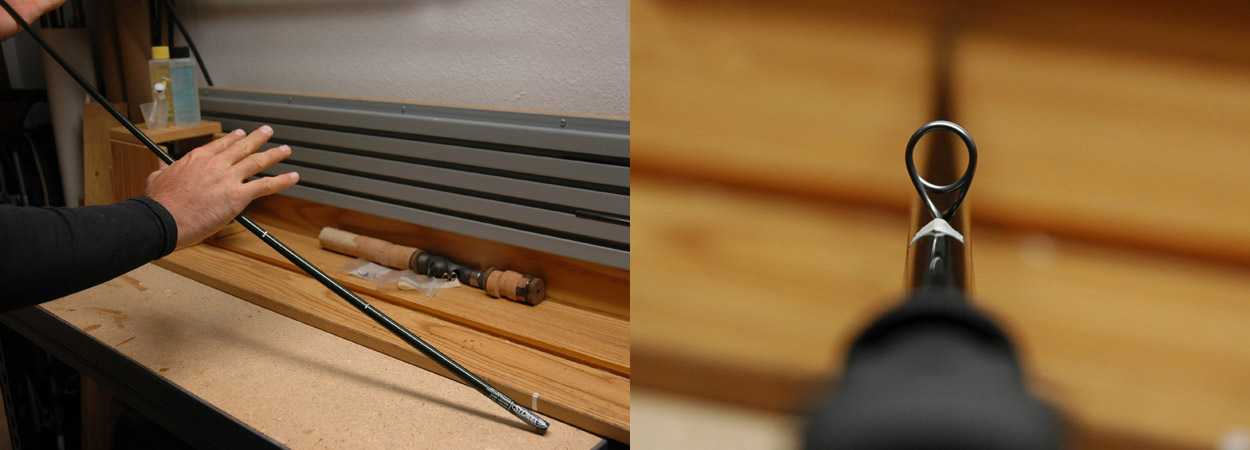
![]() Before we permanently attach the butt cork cookie we must locate the spine of the rod for guide and reel seat position. Do this before you build the handle.
Before we permanently attach the butt cork cookie we must locate the spine of the rod for guide and reel seat position. Do this before you build the handle.
![]() The rest of the cork rings can be bored with a angular bur bit so can be snug on the blank in the center and still have small voids for adhesive near the faces.
The rest of the cork rings can be bored with a angular bur bit so can be snug on the blank in the center and still have small voids for adhesive near the faces.

![]() Now we apply the adhesive to each ring in two steps using 5 minute curing formula. This is the first step. Let it set for at least 30 minutes before starting the second step.
Now we apply the adhesive to each ring in two steps using 5 minute curing formula. This is the first step. Let it set for at least 30 minutes before starting the second step.
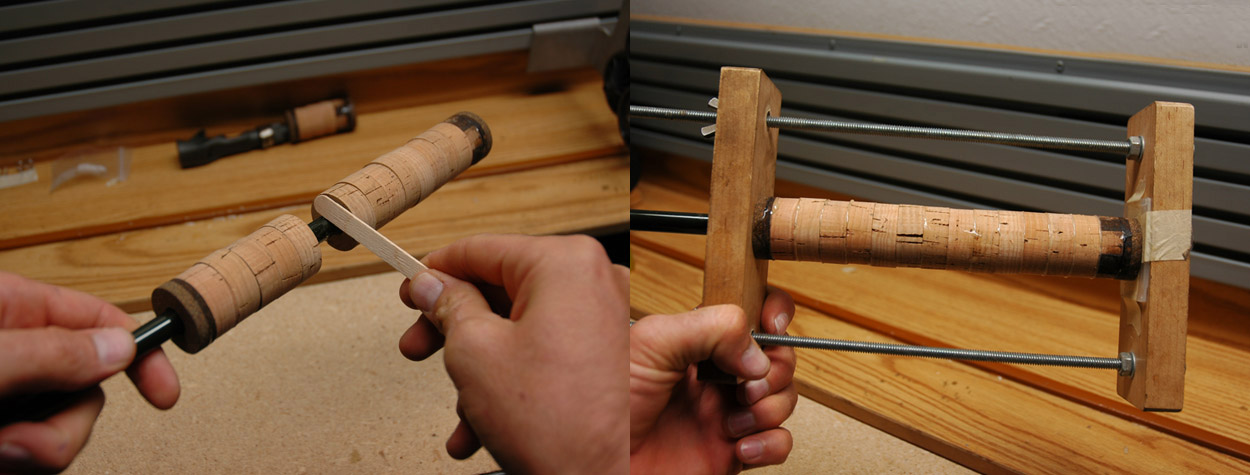
![]() The second step includes the reel seat. build the shims or prep the arbor before you mix the 2 part adhesive. Then back in the clamp for several hours before sanding.
The second step includes the reel seat. build the shims or prep the arbor before you mix the 2 part adhesive. Then back in the clamp for several hours before sanding.
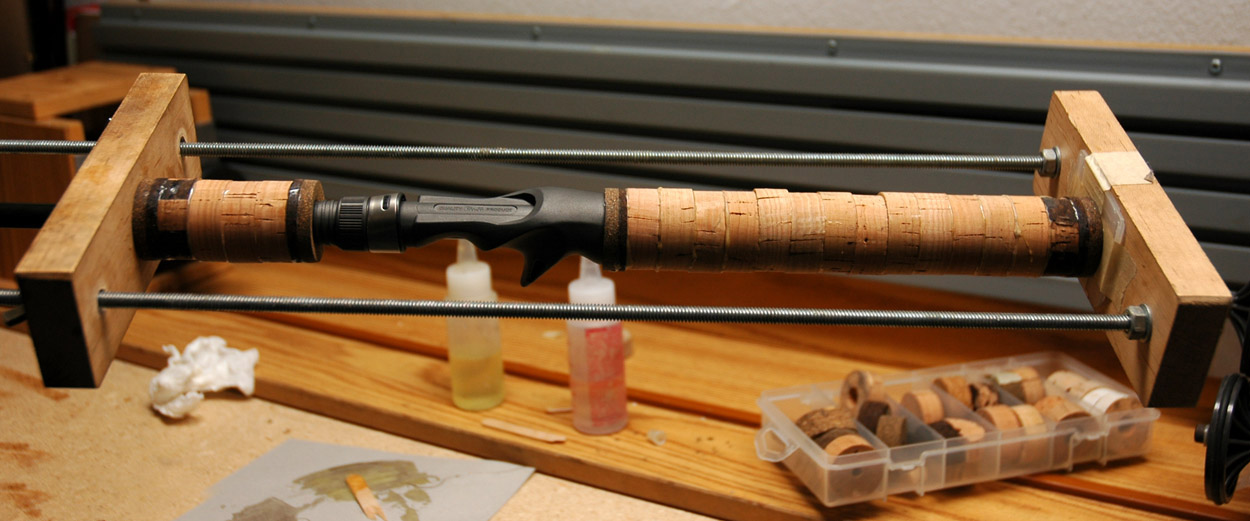
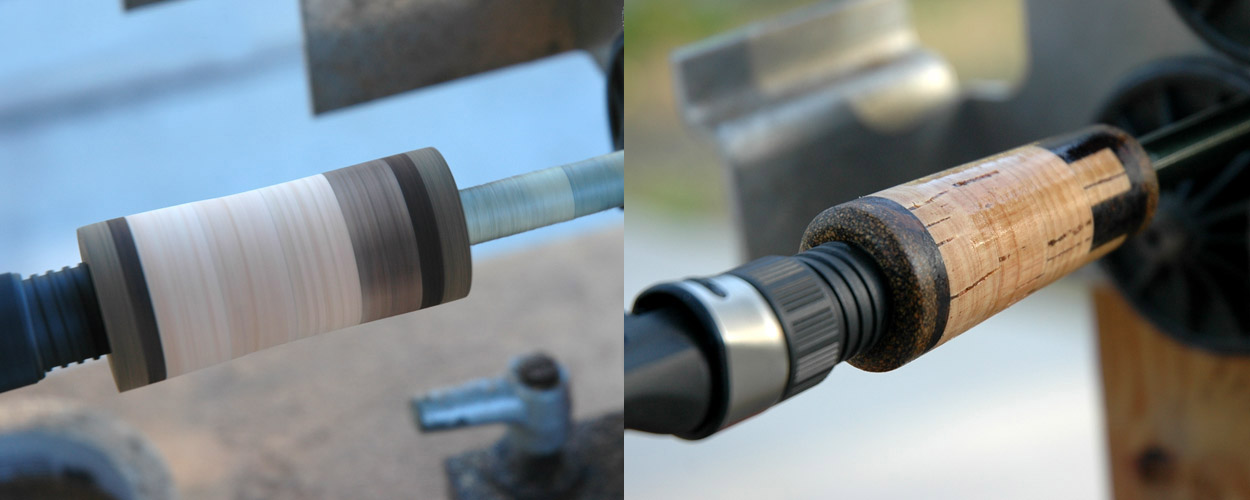
![]() Not shown here but tape up the reel seat and blank so not to damage them while sanding with different grits of sand paper. Clean up with a damp paper towel.
Not shown here but tape up the reel seat and blank so not to damage them while sanding with different grits of sand paper. Clean up with a damp paper towel.
![]() Now with the handle complete and free of cork dust we we should determine the spacing for the guides. These are available from the manufacturer of the rod blank.
Now with the handle complete and free of cork dust we we should determine the spacing for the guides. These are available from the manufacturer of the rod blank.

![]() Before taping or tacking the guide to the blank we must prep the guide feet by grinding them. I use a dremel. This is so the thread can wrap onto the foot easily.
Before taping or tacking the guide to the blank we must prep the guide feet by grinding them. I use a dremel. This is so the thread can wrap onto the foot easily.

![]() Thread color selection can be revisited at this point. Adding accent lines or other decorative techniques makes for an attractive wrap and overall finished product.
Thread color selection can be revisited at this point. Adding accent lines or other decorative techniques makes for an attractive wrap and overall finished product.
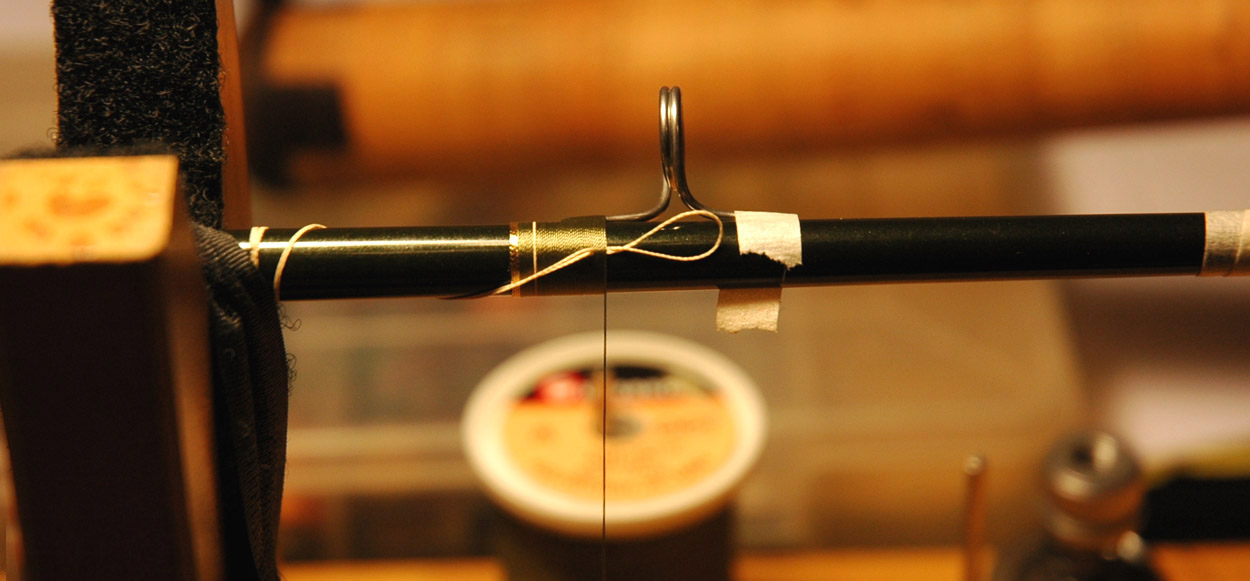
![]() Once the threads get wet with rod finish it’s too late to go back. Test dry wraps with water if you’re unsure what color the threads will become when finished.
Once the threads get wet with rod finish it’s too late to go back. Test dry wraps with water if you’re unsure what color the threads will become when finished.
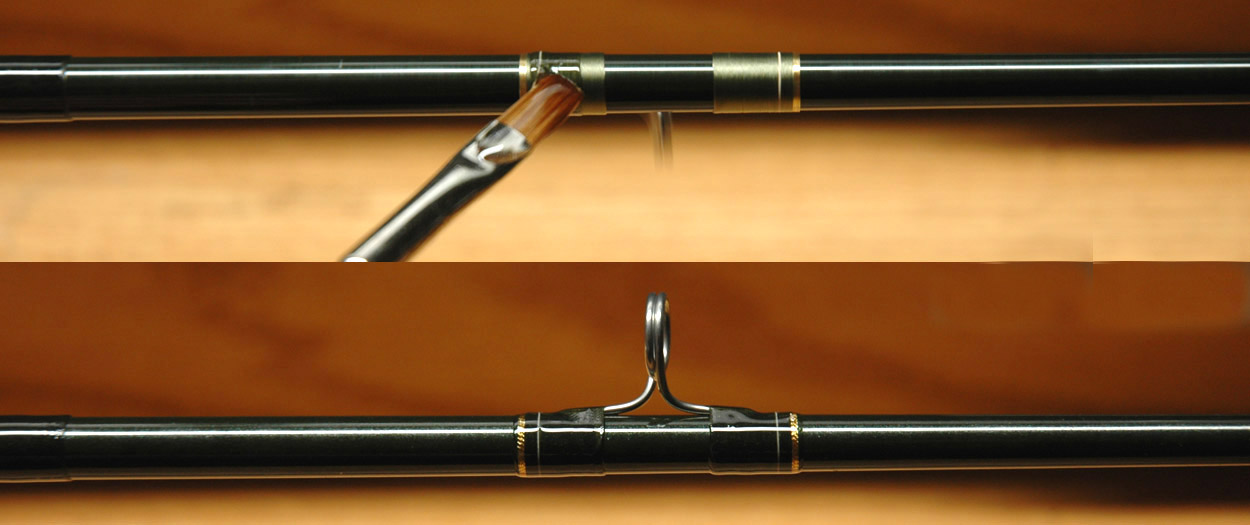
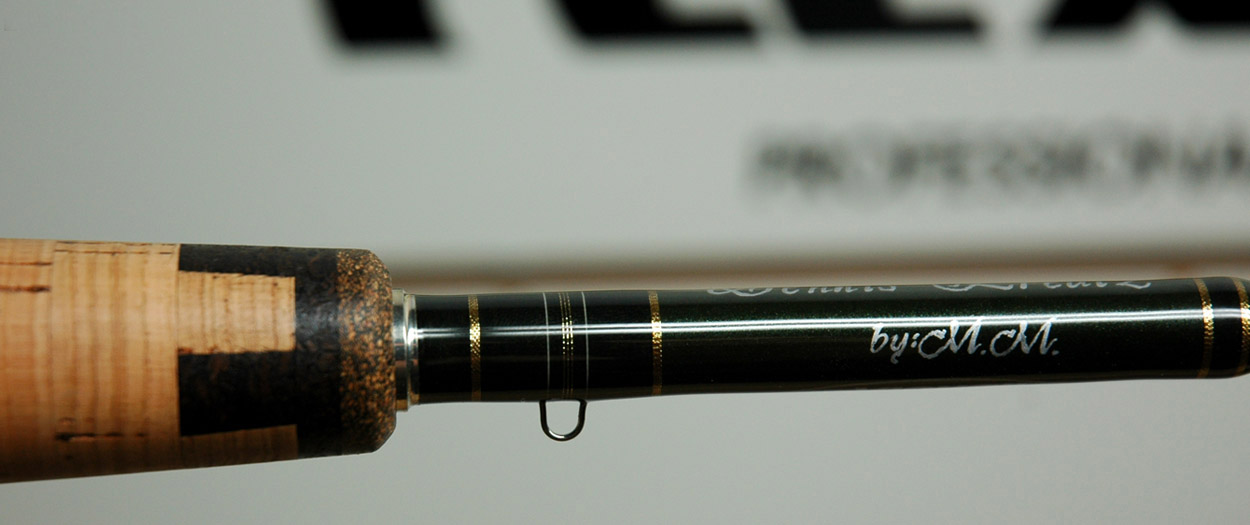
![]() After several hours of turning and curing over night the rod finish is mostly solid. A label or inscription can be added before before the first or second clear coat.
After several hours of turning and curing over night the rod finish is mostly solid. A label or inscription can be added before before the first or second clear coat.
![]() Inspect all wraps before the second coat. small spikes from thread frays can be removed with a razor. Take a photo of your completed projects. They’ll never look as good!
Inspect all wraps before the second coat. small spikes from thread frays can be removed with a razor. Take a photo of your completed projects. They’ll never look as good!
Happy rod making!